Product | 07/27/2016
Ledger Nano S interface first look
 A word of warning: this blog entry requires the loading of almost 100Mb of animated GIF and may take a few minutes to complete.
Ledger Nano S is the latest generation hardware wallet from Ledger. It has a lot of great features, and boasts the ability to get fully configured directly on device for a maximum level of security.
One screen and two buttons
The Nano S can be powered on using any micro USB cable, connected on a charger or on any computer’s port. It will immediately prompt you to a quick tutorial where you’ll learn the following:
- left or right buttons are used to select a choice or to move inside a list of items
- pressing both buttons will confirm an action, go to the next step or select an item in a list
Create or restore a seed
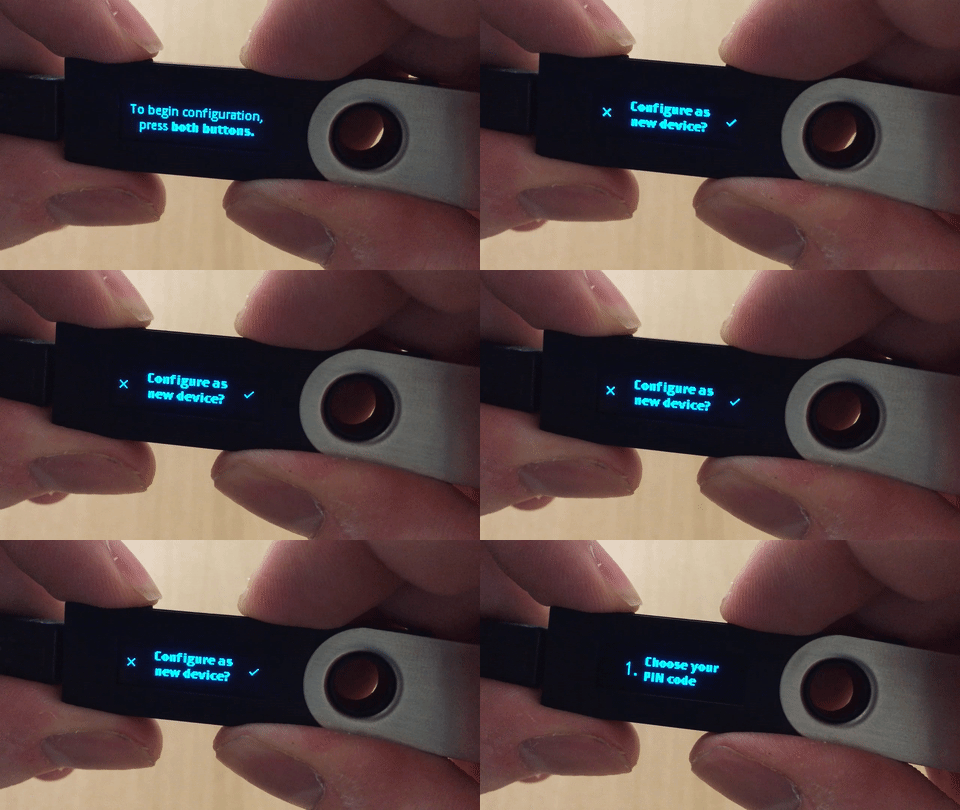
The first decision to take when initializing your Nano S is wether to create a new seed (and writing down its backup), or restore an existing seed.
Managing your PIN directly on device
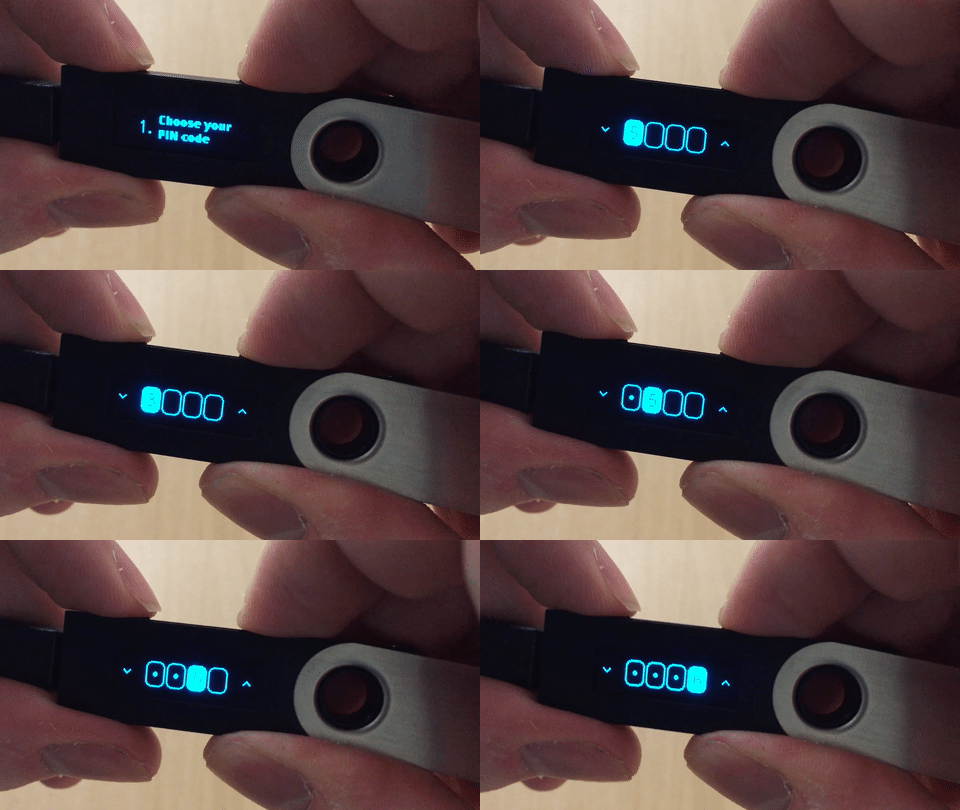
At initialization, or each time you’ll power on your Nano S, you’ll have to deal with the security PIN code. To enter your PIN, use left/right buttons to decrease/increase the digit, and both buttons to go the the next digit (or to validate the 4-digit PIN). If you fail to enter your PIN correctly three times in a row, your Nano S will be wiped back to factory settings (useful to change your seed).
Creating a new seed
If you choose to create a new seed, it’ll be generated on device with a cryptographically secure random generator holding more than 512 bits of entropy. You’ll then scroll through the 24 words and have the opportunity to write them down on your recovery sheet. Before the seed is flashed on the device, you’ll have to demonstrate that you have indeed correctly written down your backup by entering two randomly selected words.

Restoring an existing seed on device
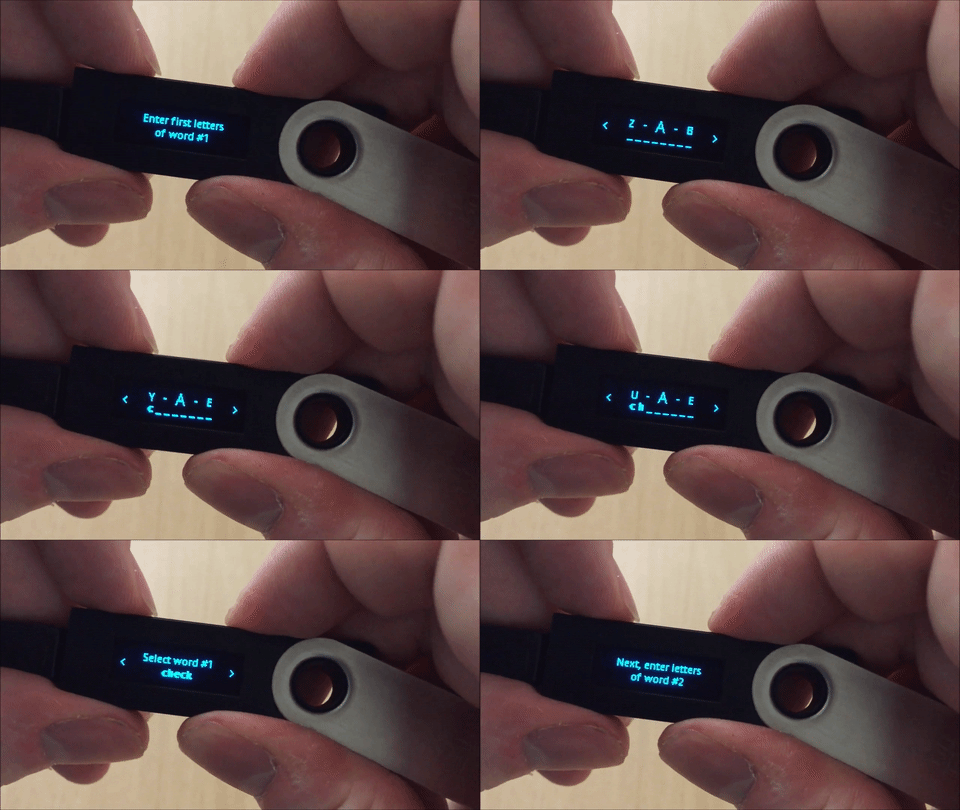
In case of you are already owner of a Ledger (or a Trezor/Keepkey), you can recover an existing seed directly on device. Note that Nano S can restore 12/18/24 words seeds (but only 24 words seeds can be generated). Each word is entered using a clever predictive mode, limiting the number of button presses. The process is of course a little bit cumbersome, but brings an enormous security advantage by always keeping the seed offline (the words won’t go through a computer).
Application dashboard
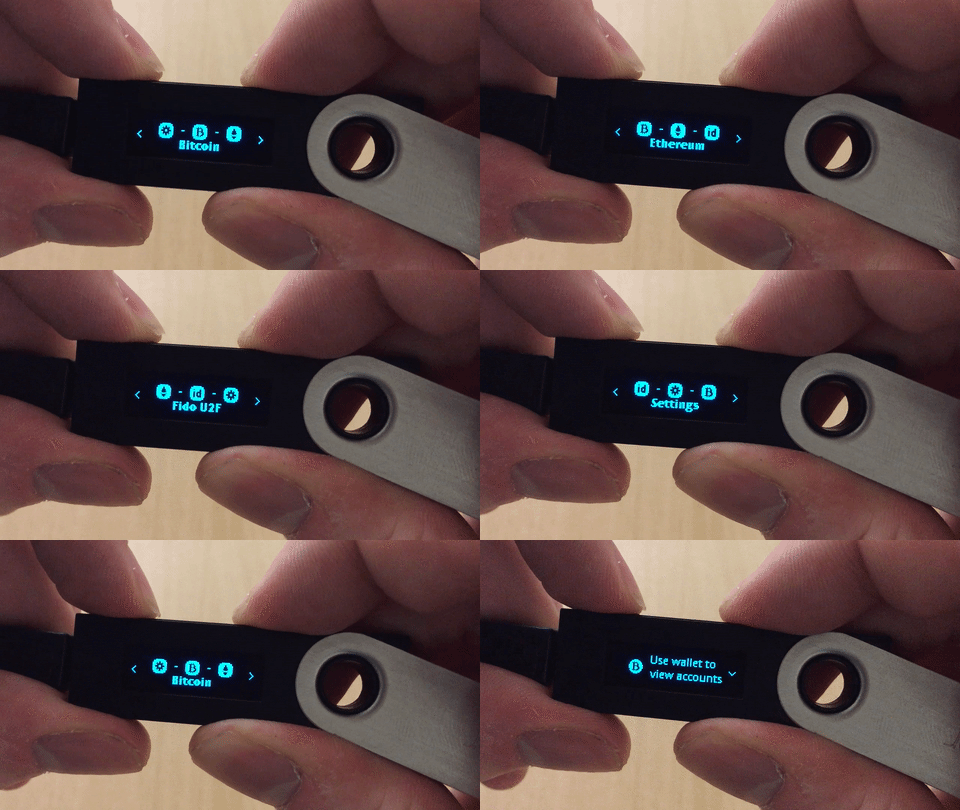
Once initialized with a seed, you access the application dashboard where you can select which app you wish to launch: Bitcoin, Ethereum, FIDO or settings. You navigate with left/right and launch the app using both buttons.
Bitcoin transaction validation
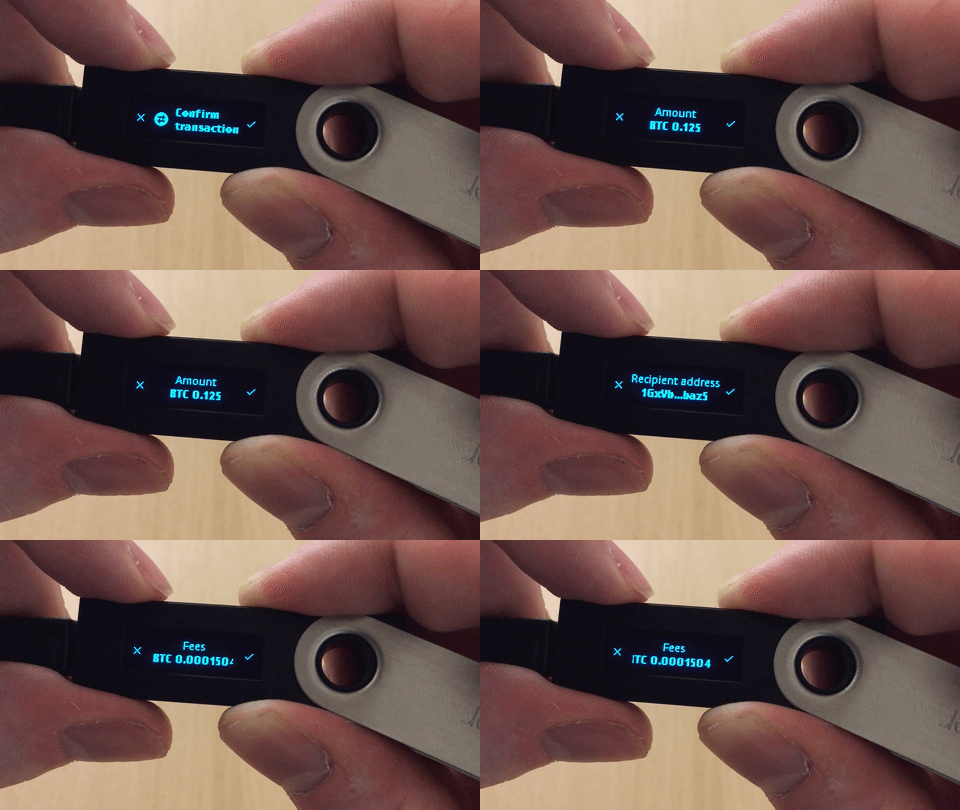
Using the Ledger Wallet Bitcoin Chrome application you can request a transaction to be signed. Nano S will show you all of the transaction’s parameters on its screen so you can confirm it securely: recipient address, amount and fees.
Ethereum transaction validation
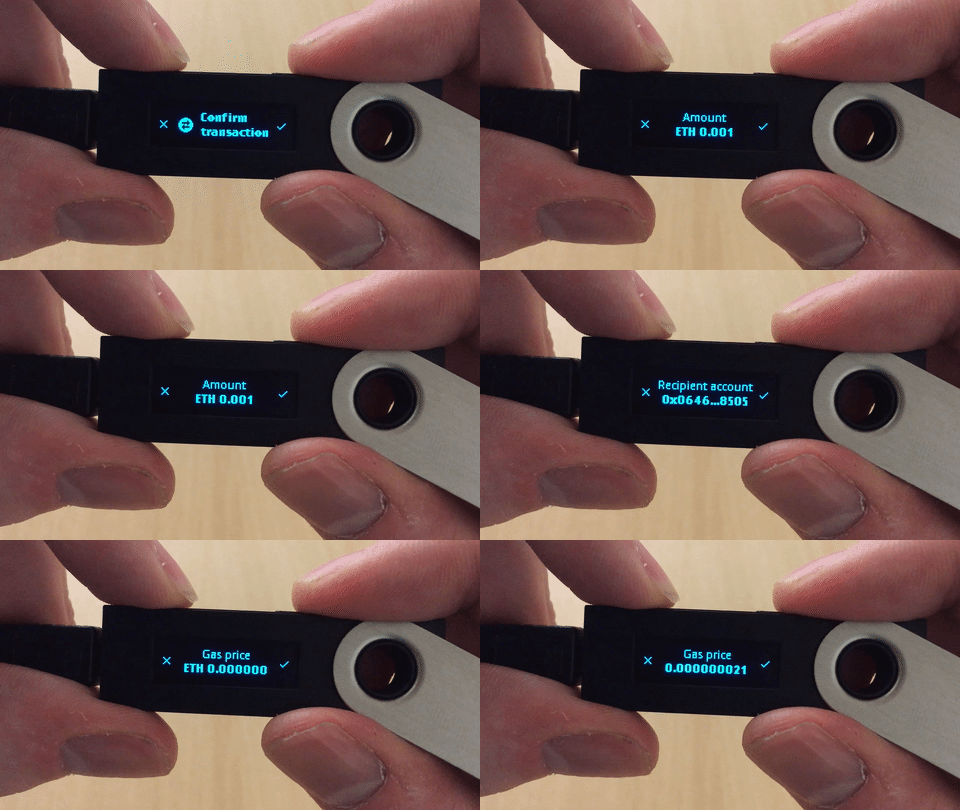
Using the Ledger Wallet Ethereum Chrome application you can request a transaction to be signed. Nano S will show you all of the transaction’s parameters on its screen so you can confirm it securely: recipient account, amount, gas price, gas limit.
FIDO U2F strong authentication
You can use your Nano S as a strong authentication dongle thanks to its certified FIDO U2F app. The main eligible services are Dashlane, Dropbox, Github, Gitlab and Google accounts, providing easy one click login/auth confirmation.

Nano S settings
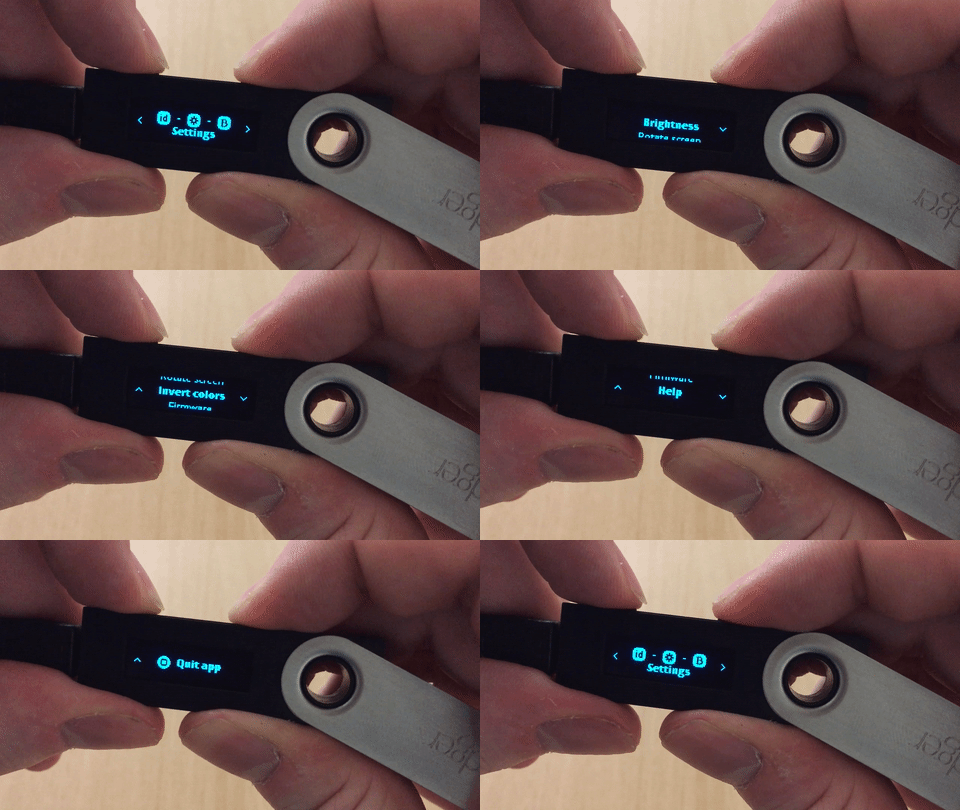
A few settings are available on your Nano S: brightness of the screen, color inversion, screen rotation (so you can control buttons with your thumbs if you prefer), firmware info and help instructions.
